Wireless Mode Quickstart
Hardware Setup
Plug your tracker into your PC
- Connect using the USB port on your tracker
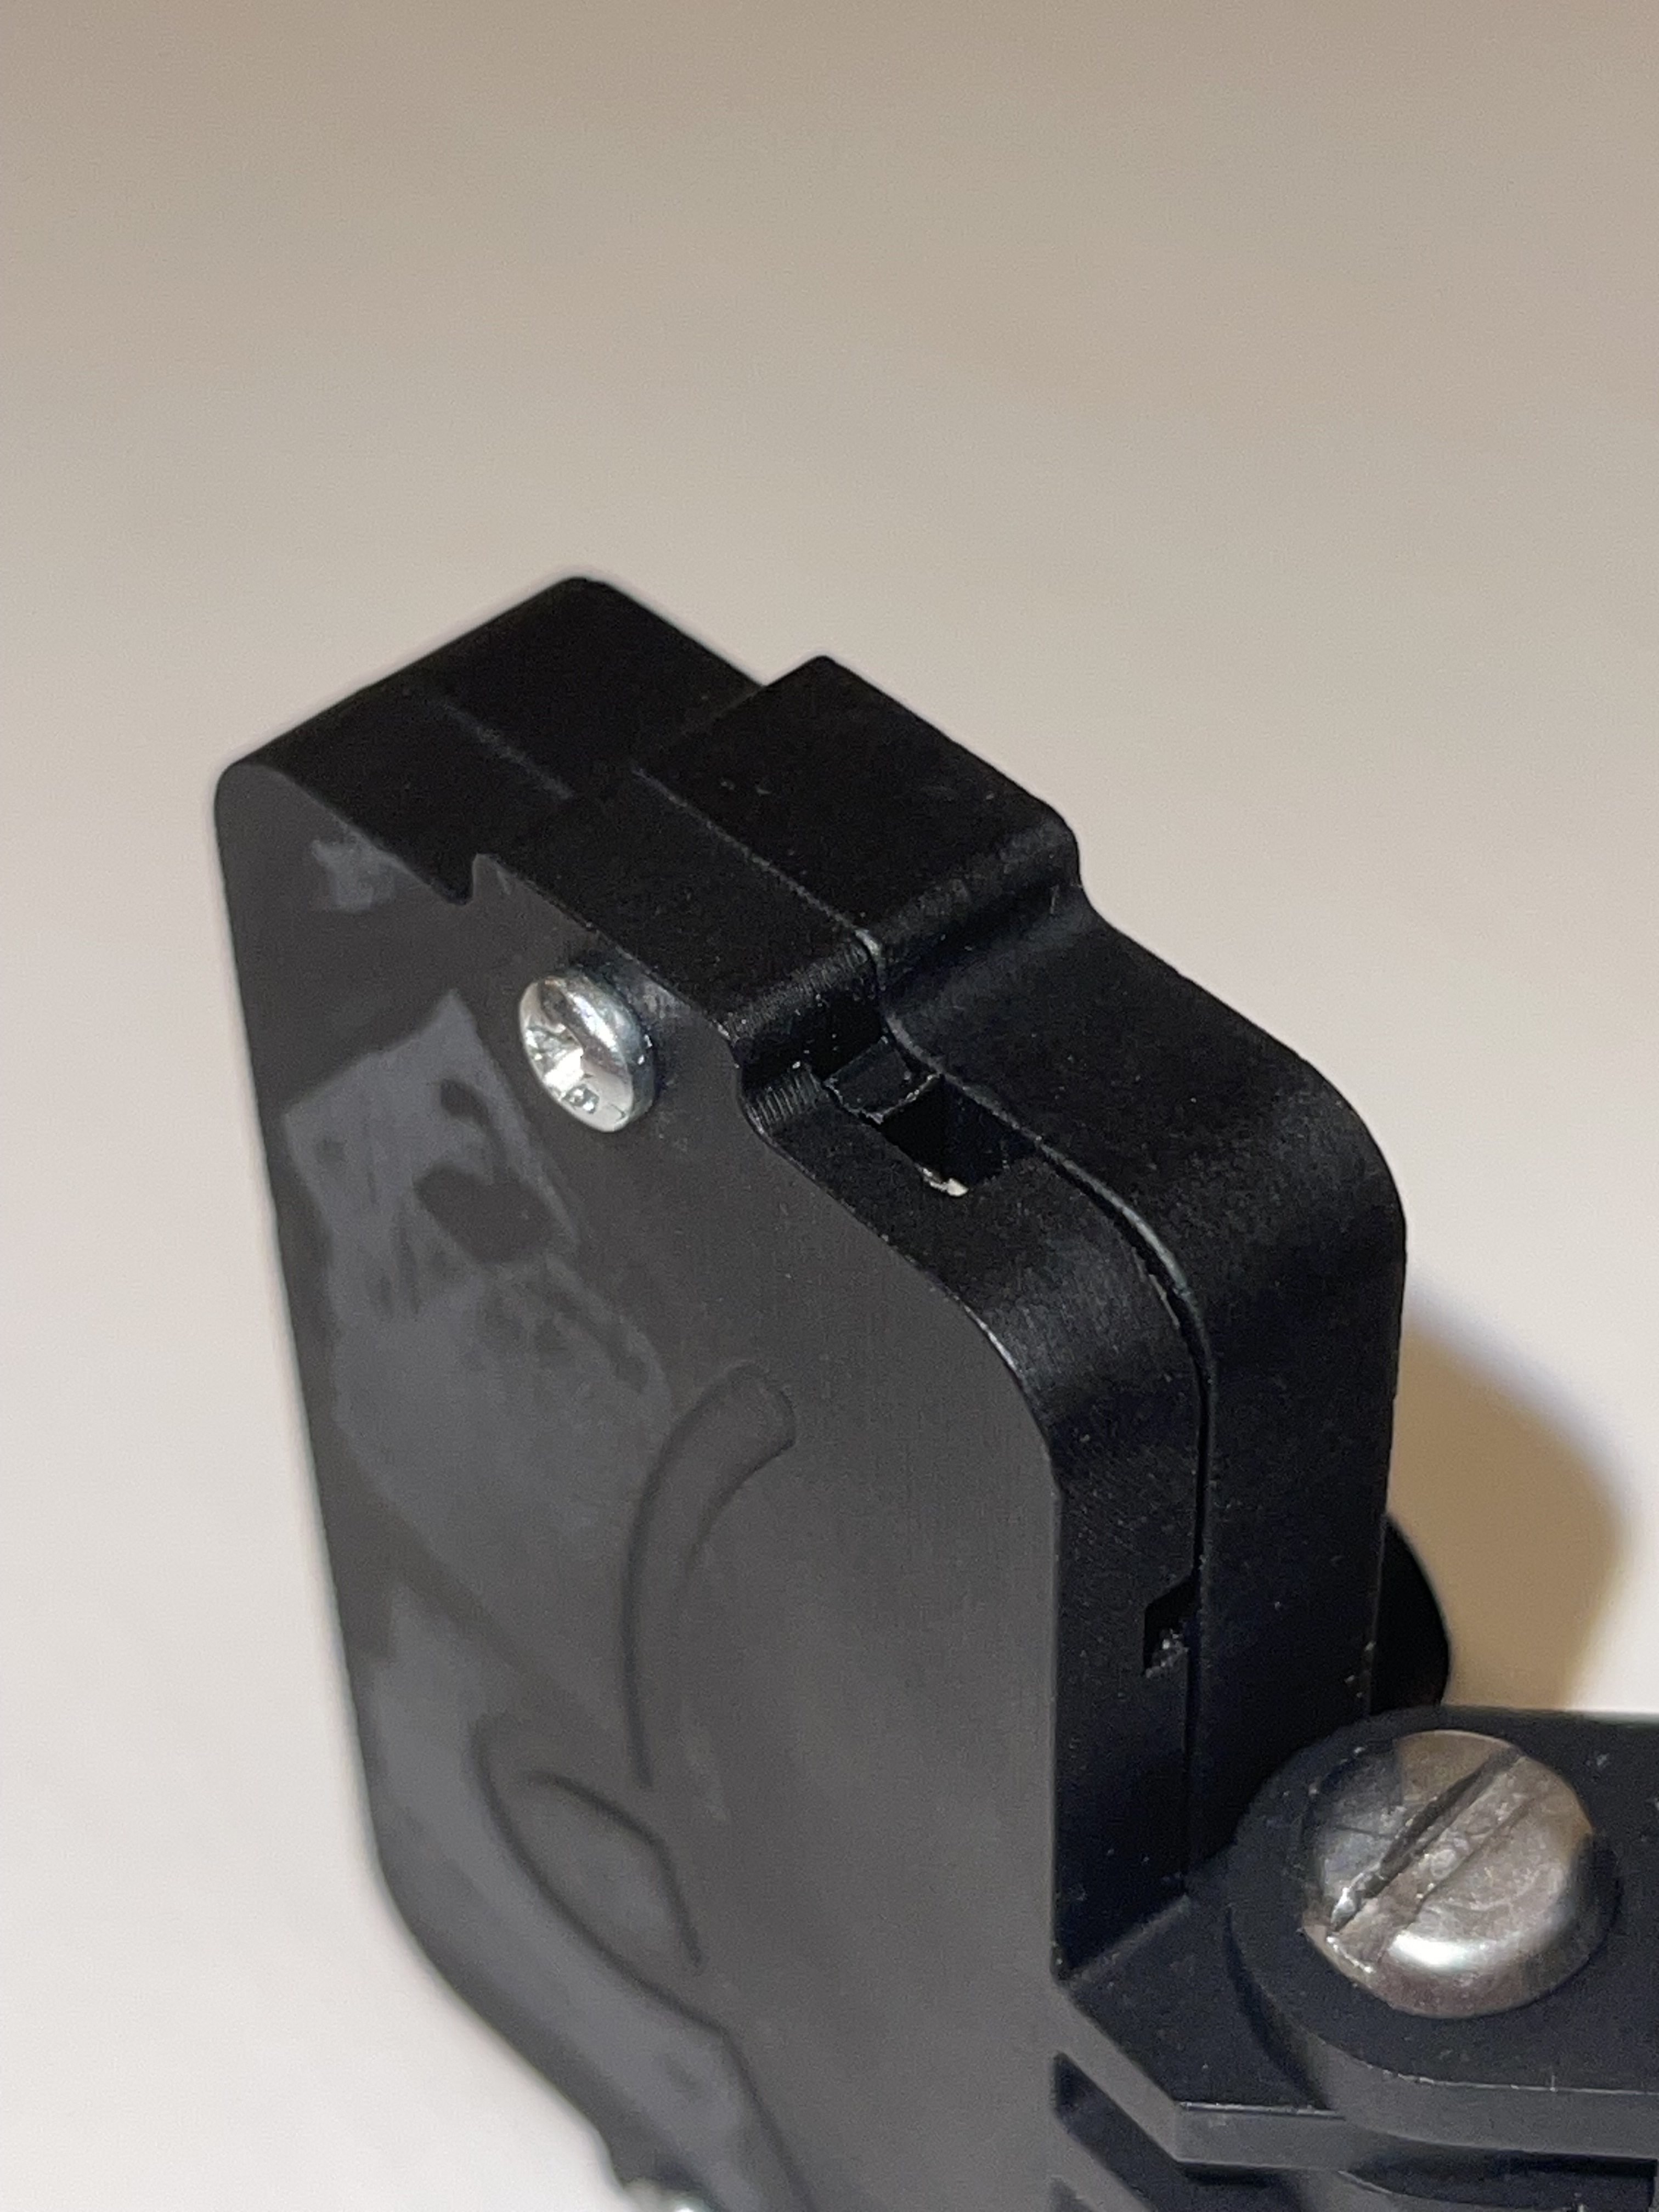
- Make sure the switch is in the "ON" position, as seen below
- A bright green light should appear on the back of the tracker
- You should hear a connection sound when properly connected
- The tracker will take about 20 seconds to boot upon receiving power
Software Setup
Windows
- Get the latest version from our Github. Download the installer and run it.
macOS/Linux
- Currently, we do not offer installers for these platforms. You will need to build these from source.
- For assistance building Babble Avalonia on these platforms, please contact us in our discord server.
- Our Legacy App can be run from our installer scripts on the Github
Mode Selection
Your MUST have 2.4Ghz Wifi network for a Babble Tracker or any ESP32 device to connect wirelessly. 5Ghz doesn't work with the ESP32 series of processors, which is what the Babble Tracker uses.
For more detailed instructions and troubleshooting information, head to the firmware guide.
Now that you've got your Babble Tracker, you'll need to flash the firmware for it.
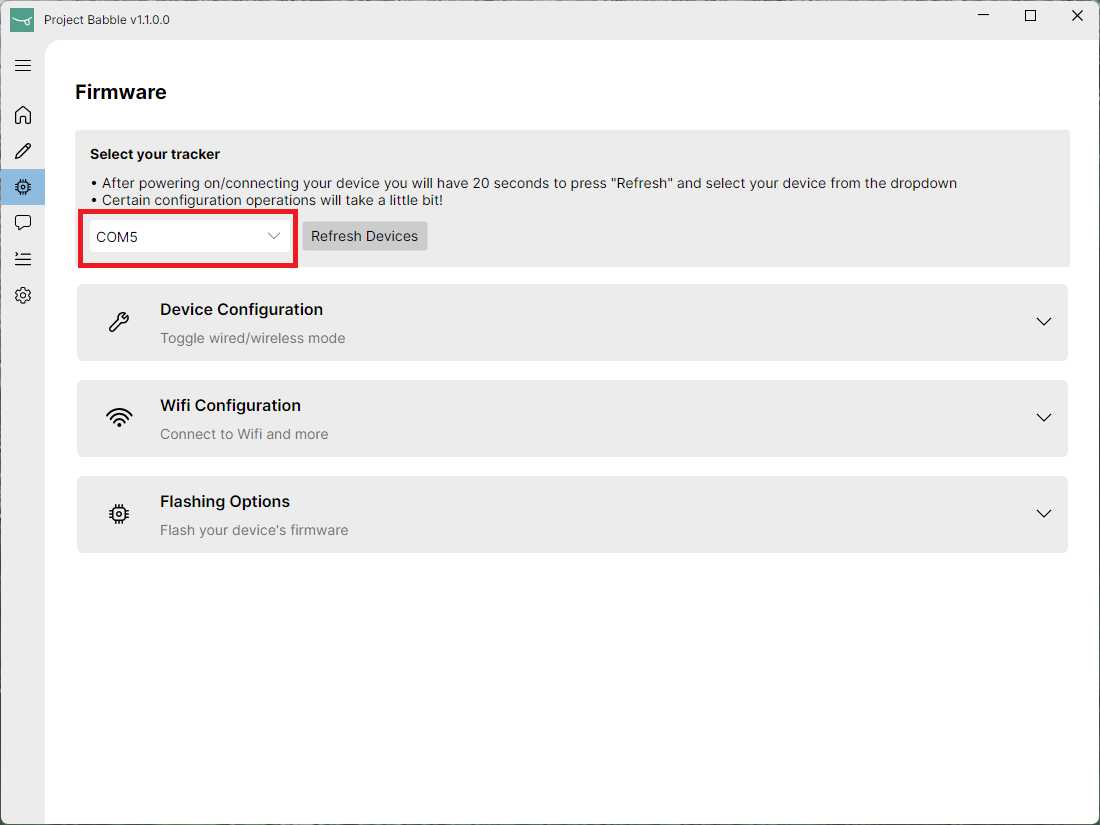
- Open Baballonia and navigate to the Firmware page. Plug in or unplug and replug your tracker to make sure it's in configuration mode.
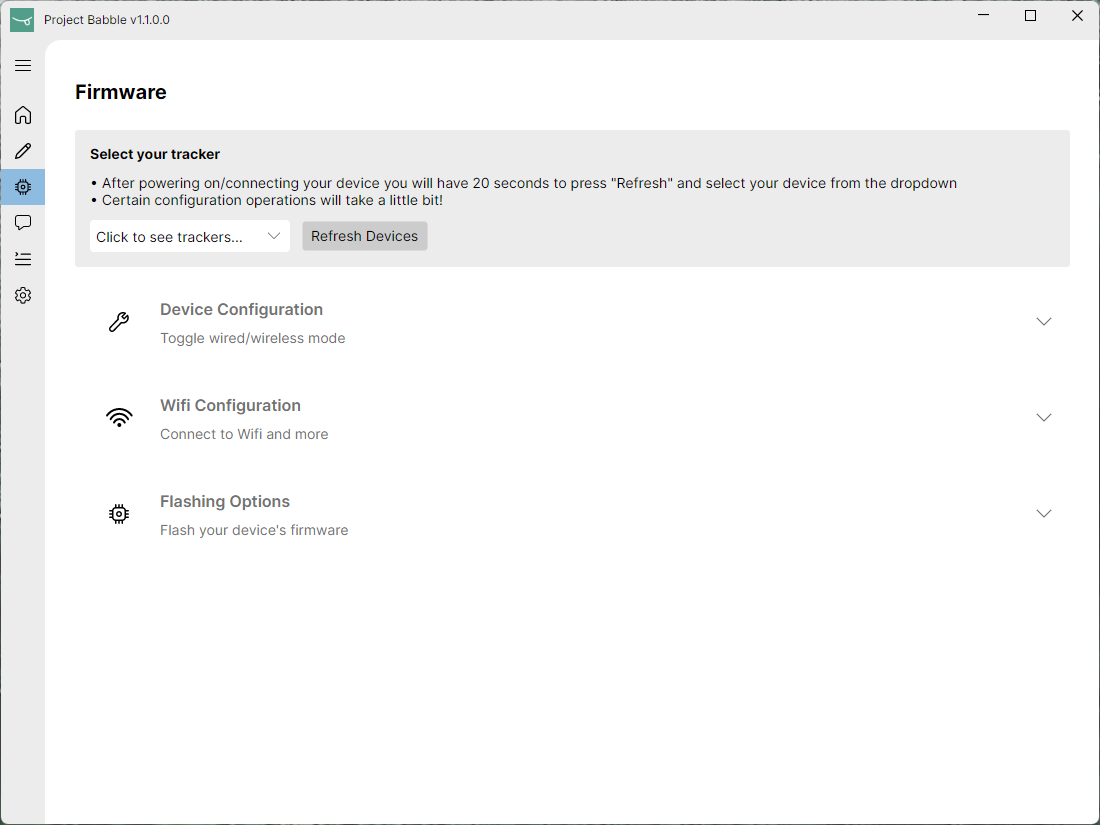
- Refresh the connected trackers. Then, select yours:
Upon connecting the tracker, you will have a 20 second window to press ‘Refresh’. If you wait too long, you will need to unplug the tracker and try again.
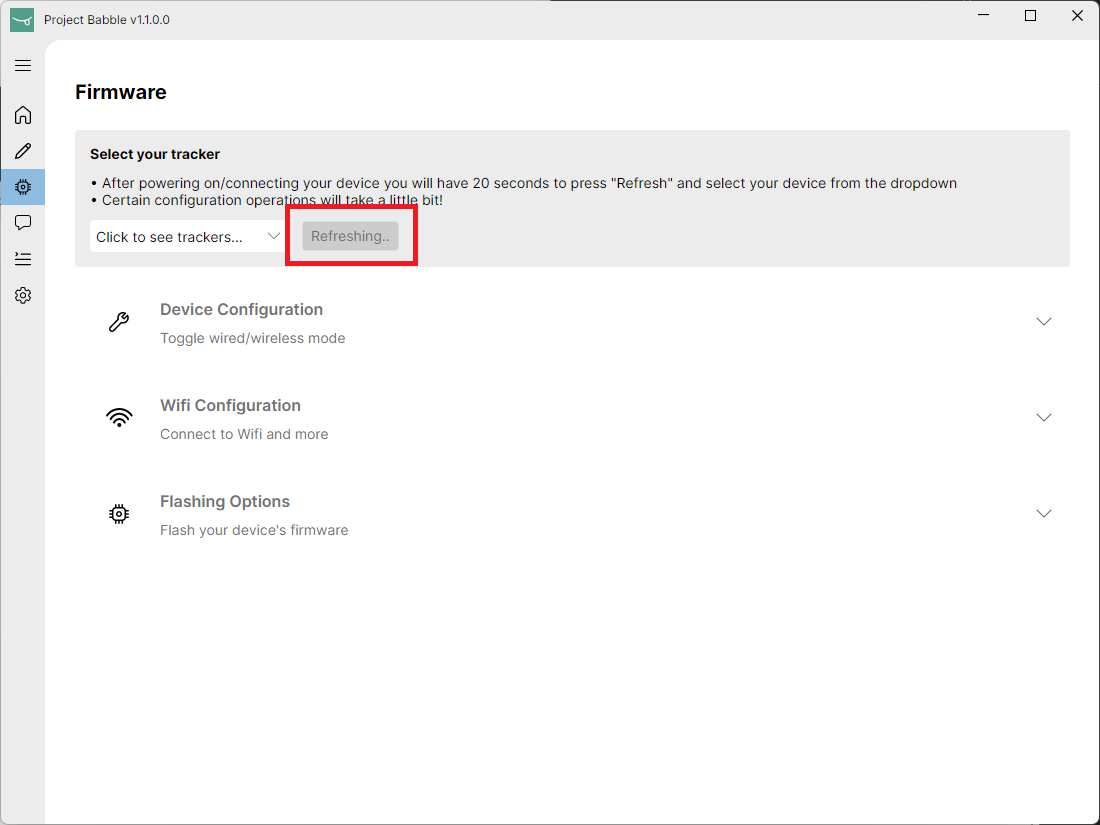
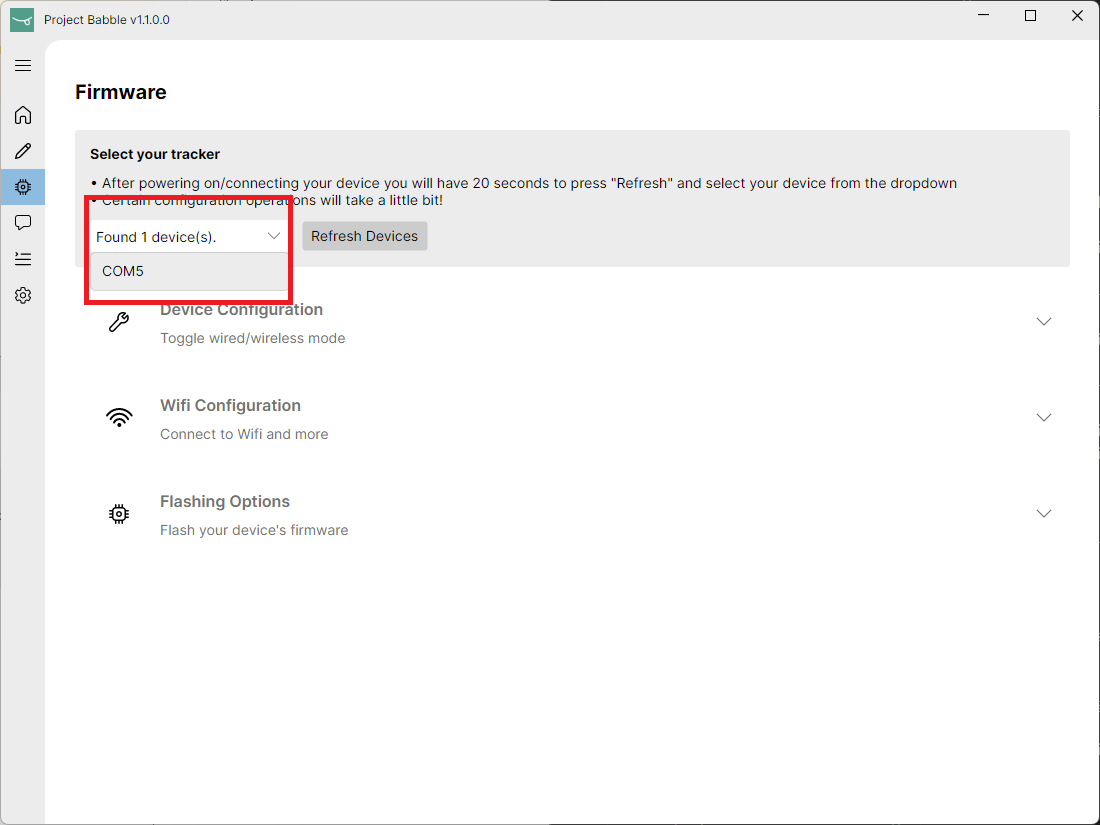
- Set the tracker into 'Wireless' mode:
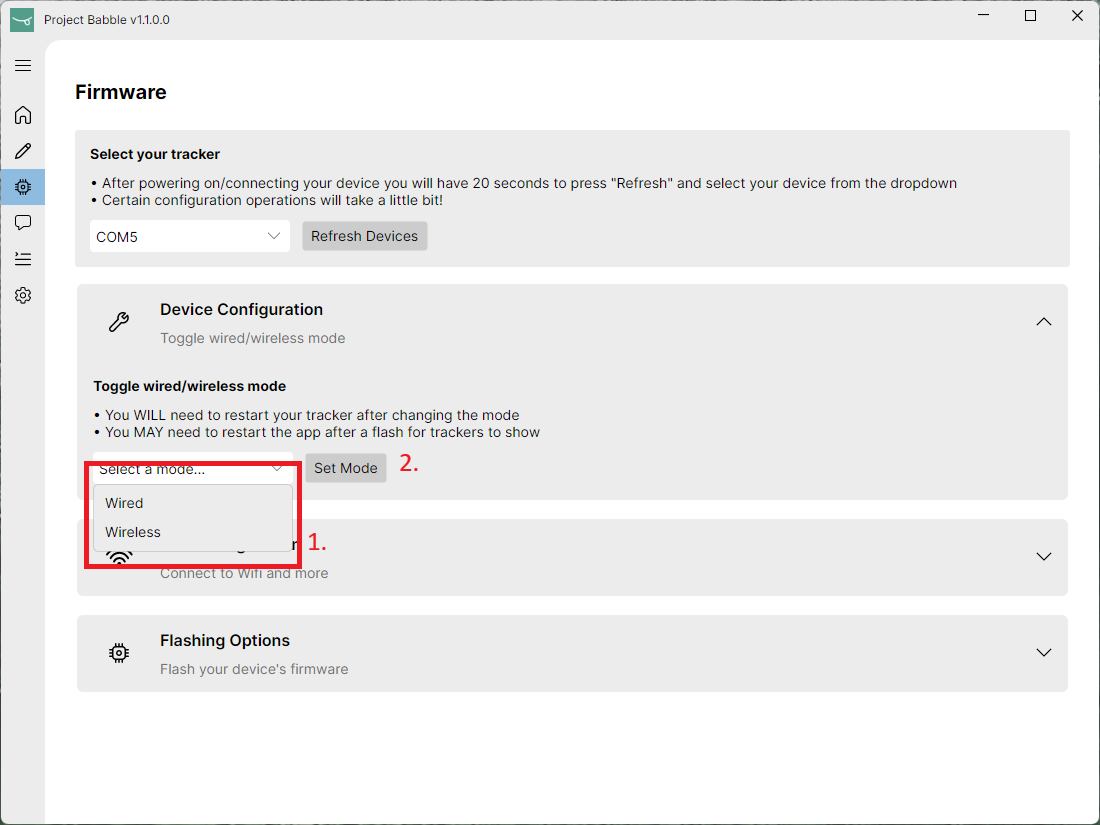
Do not click the "flash firmware" buttons after changing the mode! If you do you'll need to start over.
- Set your Wifi credentials:
You need to press 'Refresh Wifi Networks' before the tracker can connect to a network, even if you enter the SSID manually.
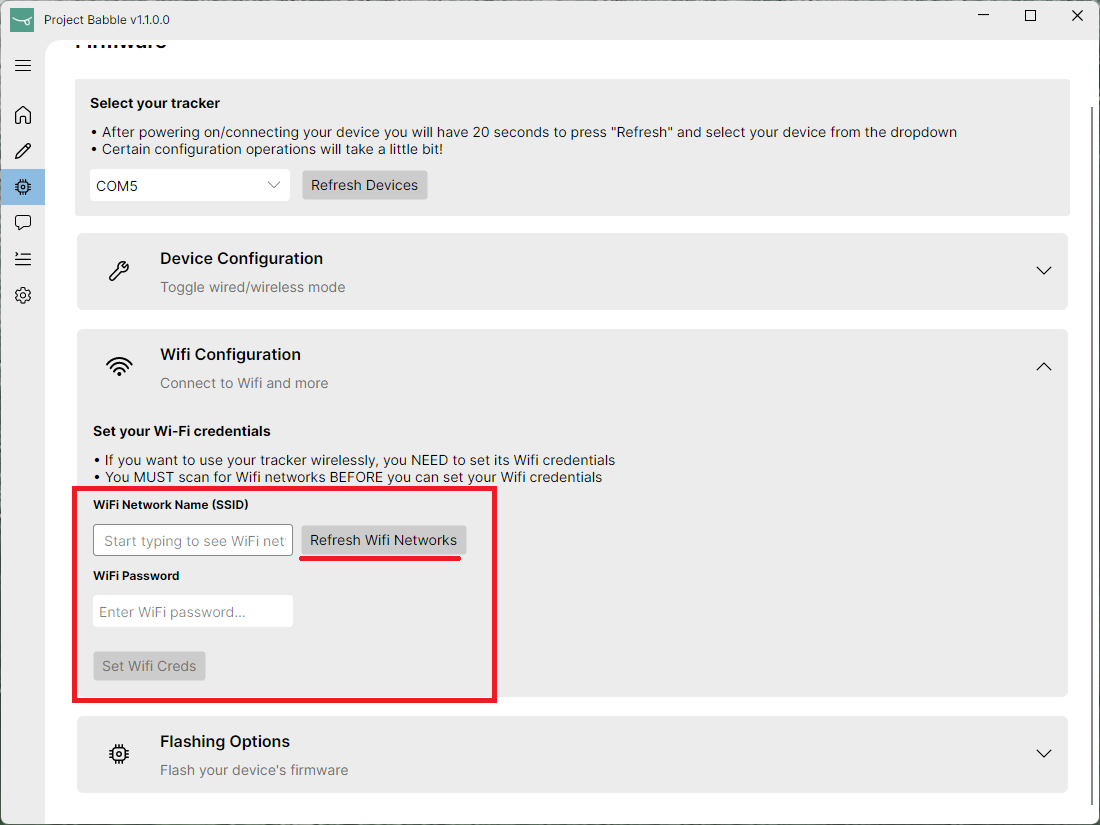
- Unplug and replug your tracker. 20 seconds after being powered on, it will start!
The tracker will now boot into Wireless mode and function as a wireless camera broadcasting on the URL 'http://openiristracker.local/'
Connect to your tracker
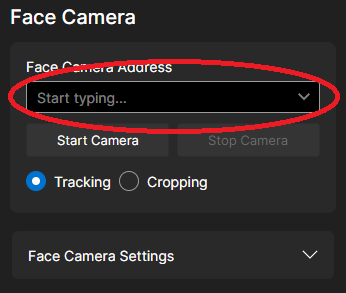
- Open Baballonia
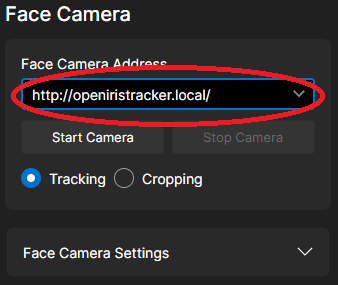
- Type in the URL of the wireless tracker
- The default will be 'http://openiristracker.local/'
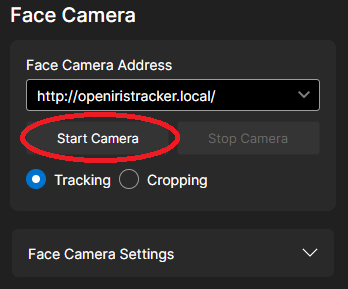
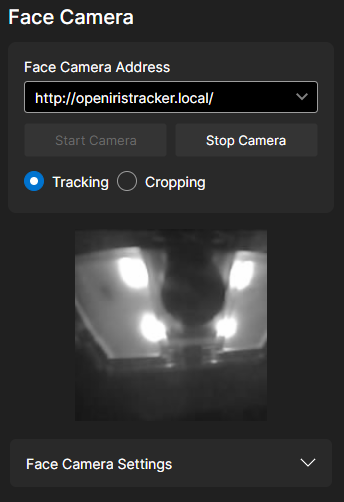
- Click "Start Camera" to connect
Setting Up The Camera Feed
Before use, you need to properly set up your camera feed:
- Ensure proper positioning
- Your face should be evenly and well-illuminated
- The tracker should be able to see your entire lower face and jaw
- Positioned at a slight angle that shows the tip of your nose/nostrils
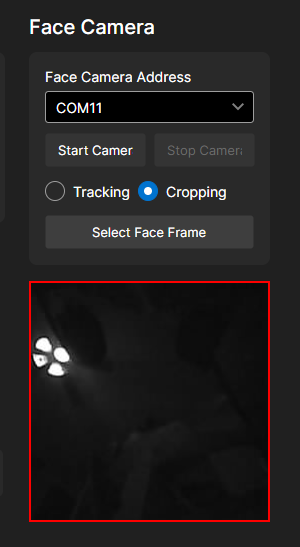
- Set the crop area
- Set the Face Camera into "Cropping" mode
-
Click and drag across the image to set the crop area
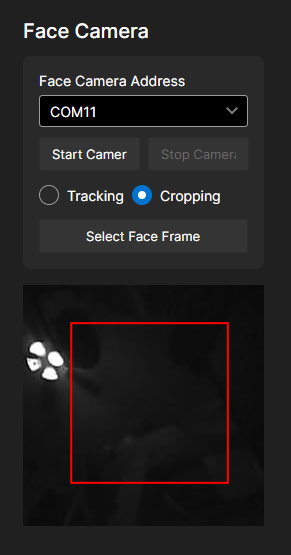
- Make sure the cropped area includes:
- Tip of your nose/nostrils
- Bottom of your jaw when open
- Sides of your cheeks when puffed

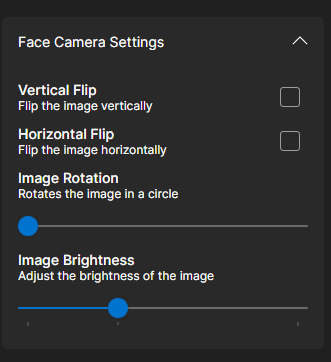
- Don't worry if the image is flipped - mirroring options are available in the "Face Camera Settings" dropdown
- Switch to tracking mode
-
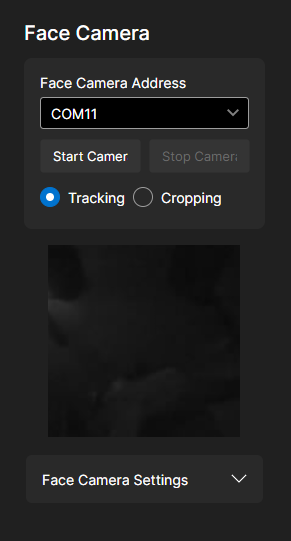
Once you've set your crop, set your face camera back into "Tracking"
-
You should now see a smooth and cropped video feed from your camera
Next Steps
To get started with specific VR platforms:
