Firmware
Your MUST have 2.4Ghz Wifi network for a Babble Tracker or any ESP32 device to connect wirelessly. 5Ghz doesn't work with the ESP32 series of processors, which is what the Babble Tracker uses.
Setup
Now that you've got your Babble Tracker, you'll need to flash the firmware for it.
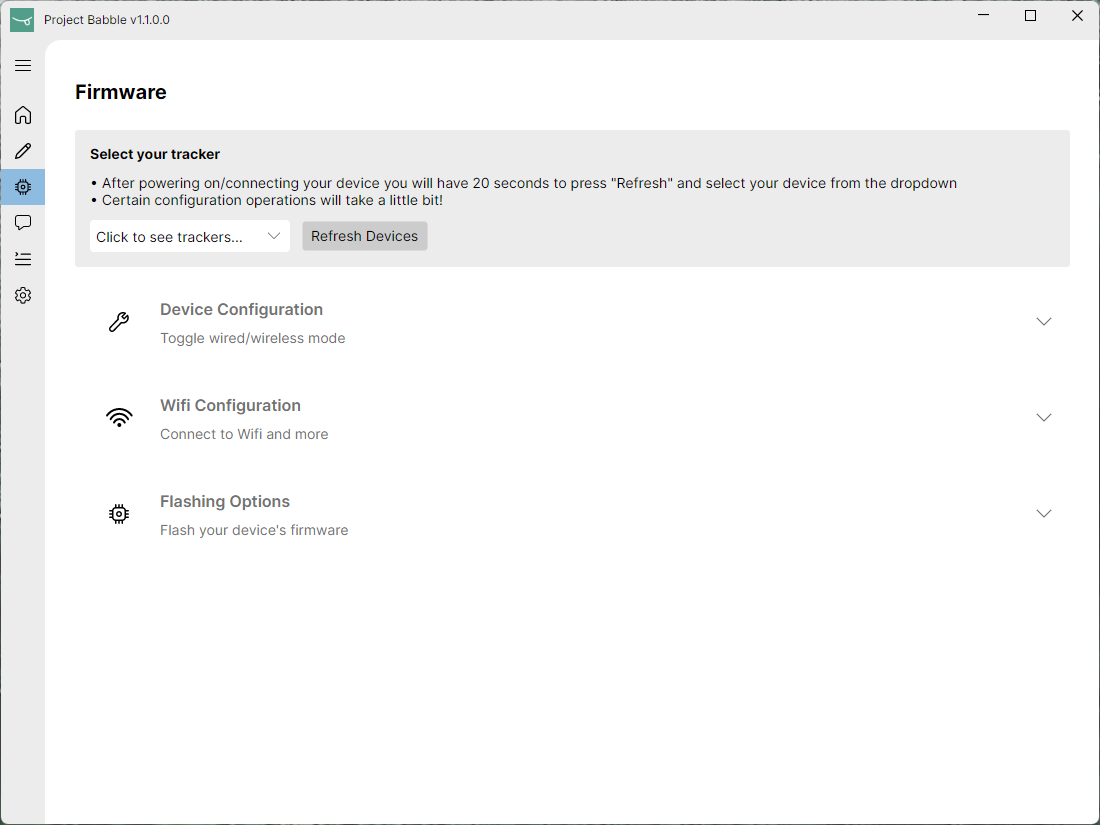
Step 1 - Open Baballonia and navigate to the Firmware page:
Step 1.1 - Plug in or unplug and replug your tracker to make sure it's in configuration mode.
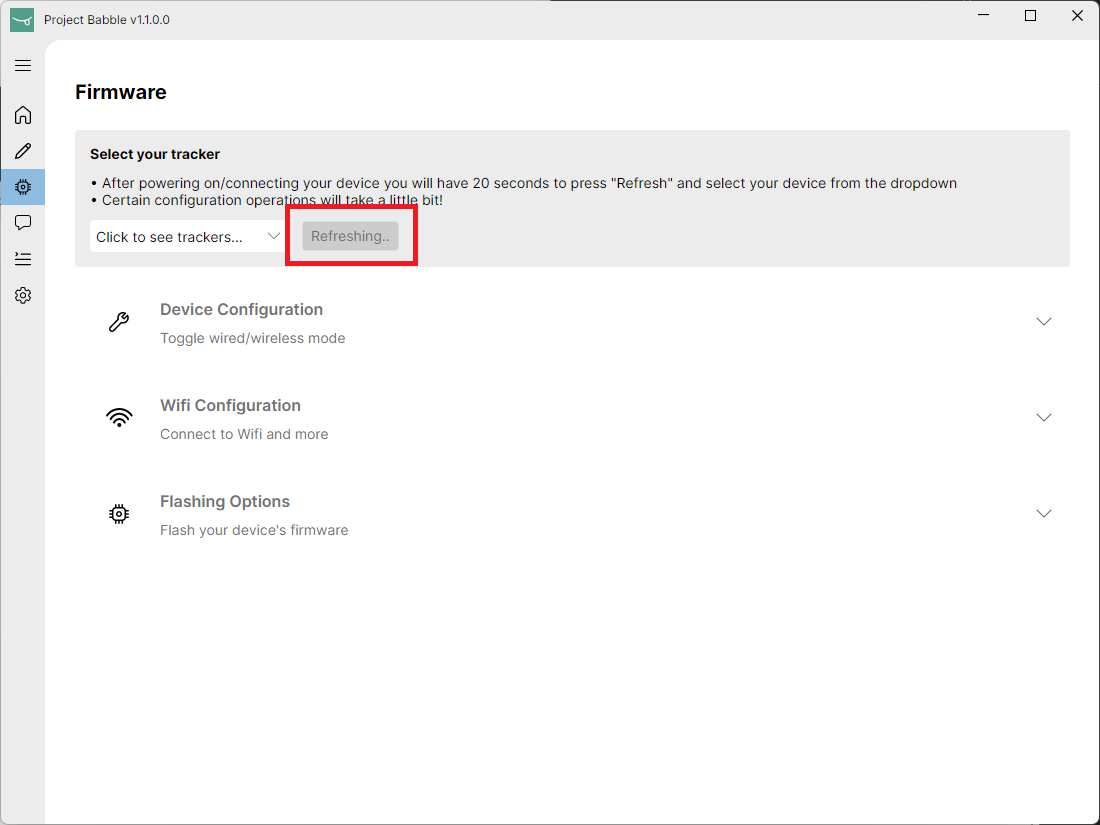
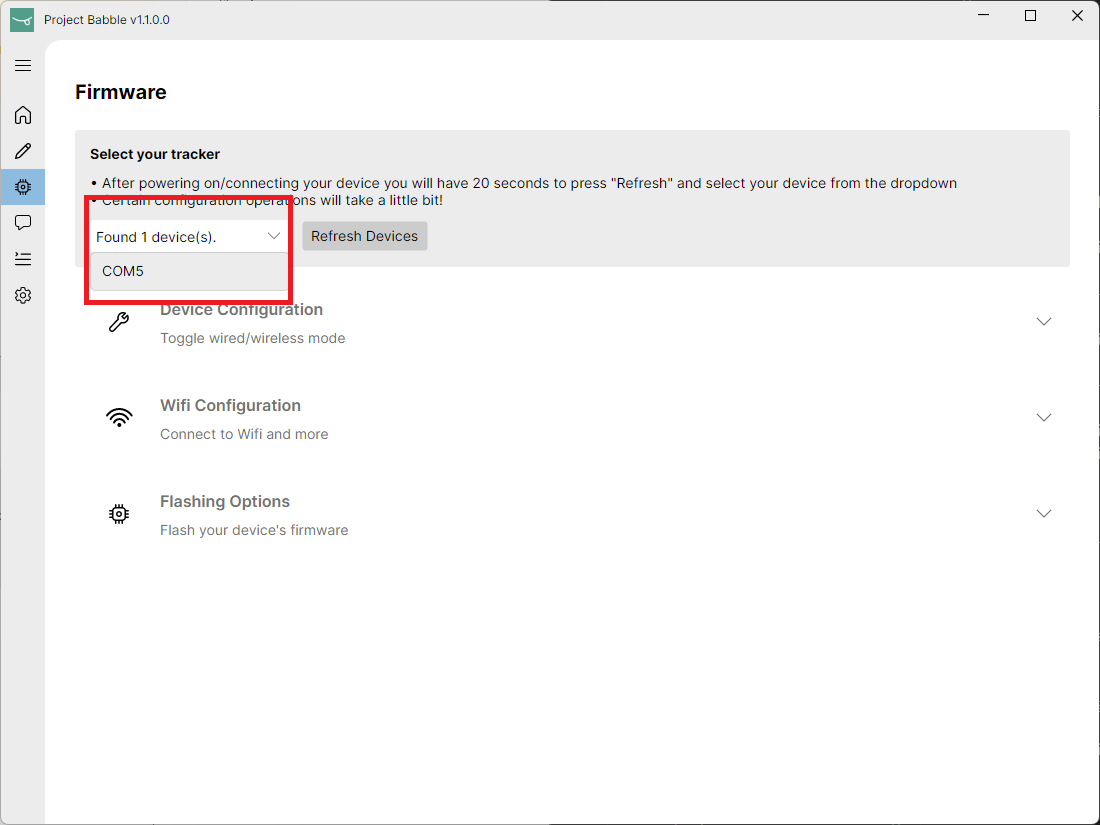
Step 2 - Refresh the connected trackers. Then, select yours:
Upon connecting the tracker, you will have a 20 second window to press ‘Refresh’. If you wait too long, you will need to unplug the tracker and try again.
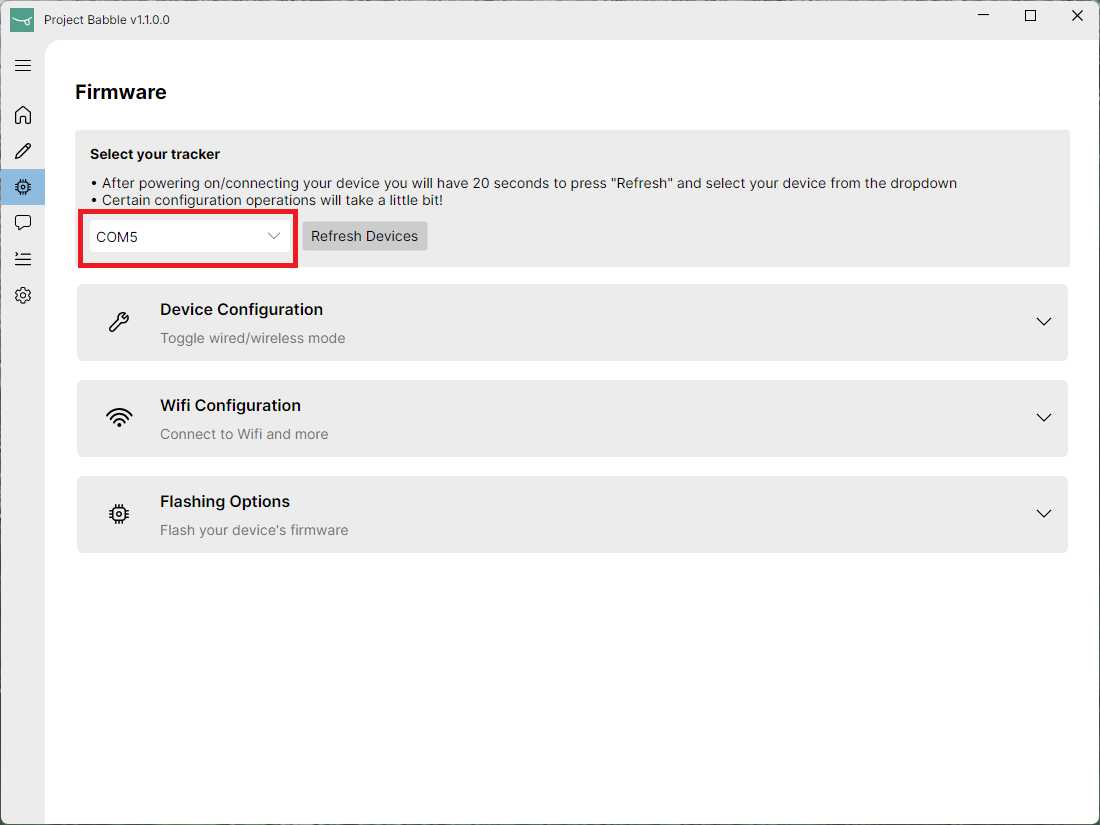
Step 3 - Set whether you want a wired or wireless connection:
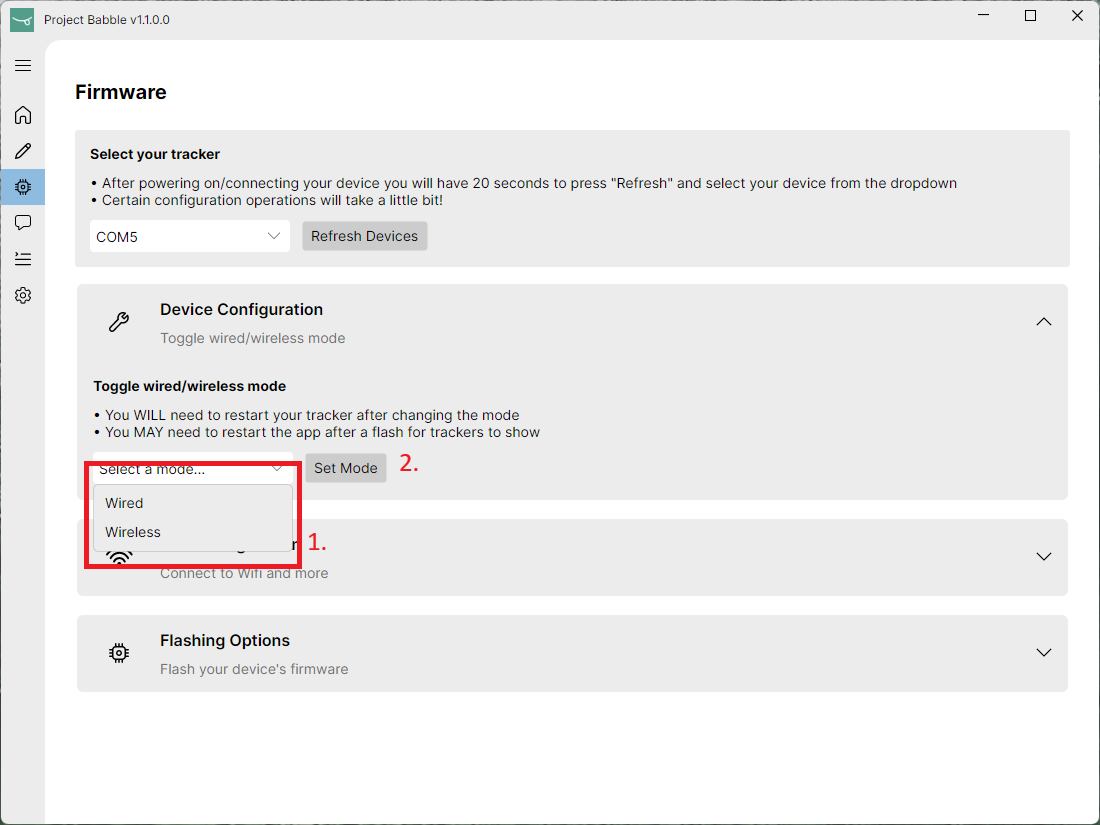
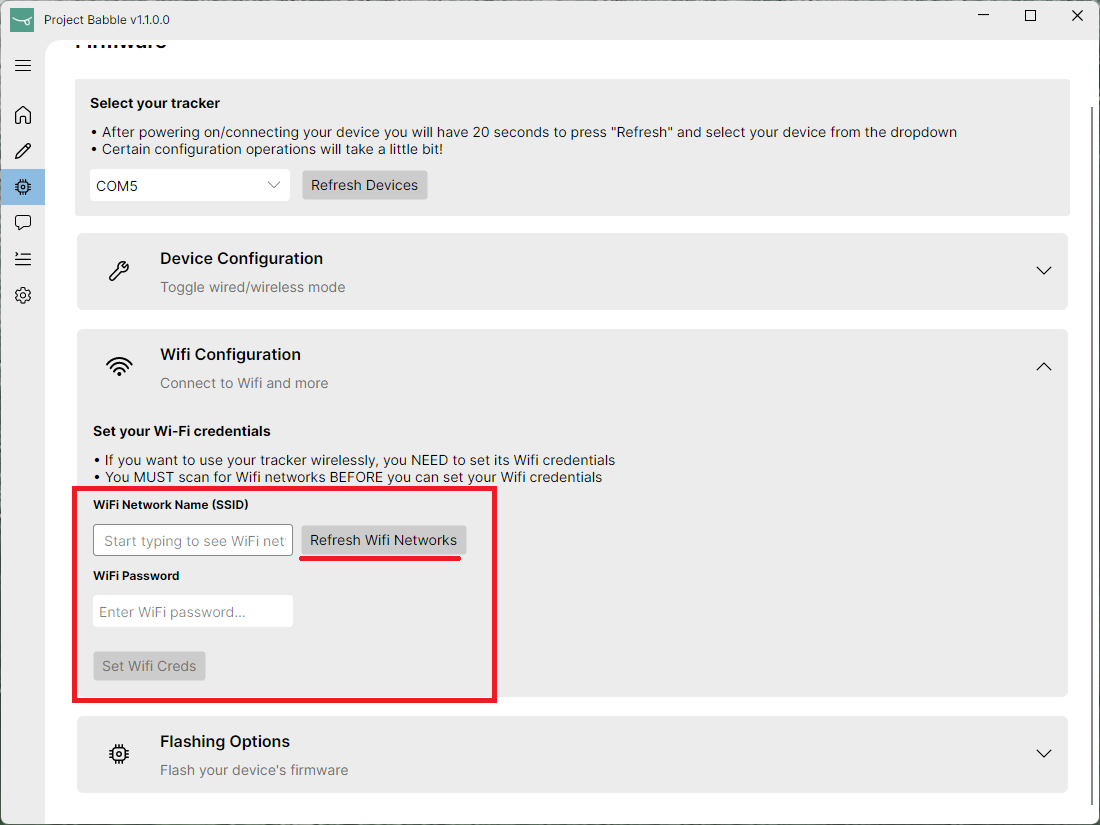
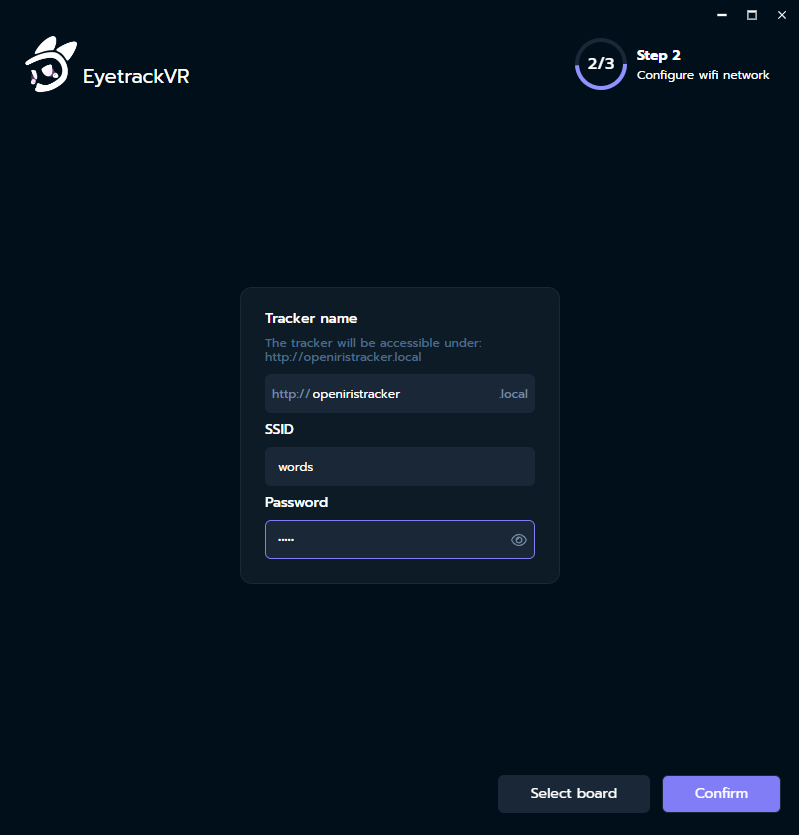
Step 3.1 - (Optional) If using wireless, set your Wifi credentials:
You need to press 'Refresh Wifi Networks' before the tracker can connect to a network, even if you enter the SSID manually.
Step 4 Unplug and replug your tracker. 20 seconds after being powered on, it will start!
The tracker will now boot into either Wired or Wireless mode. If in wired mode it will function as a USB camera with the device name 'openiristracker', if it's in wireless mode it will host a camera stream on the URL 'http://openiristracker.local/'
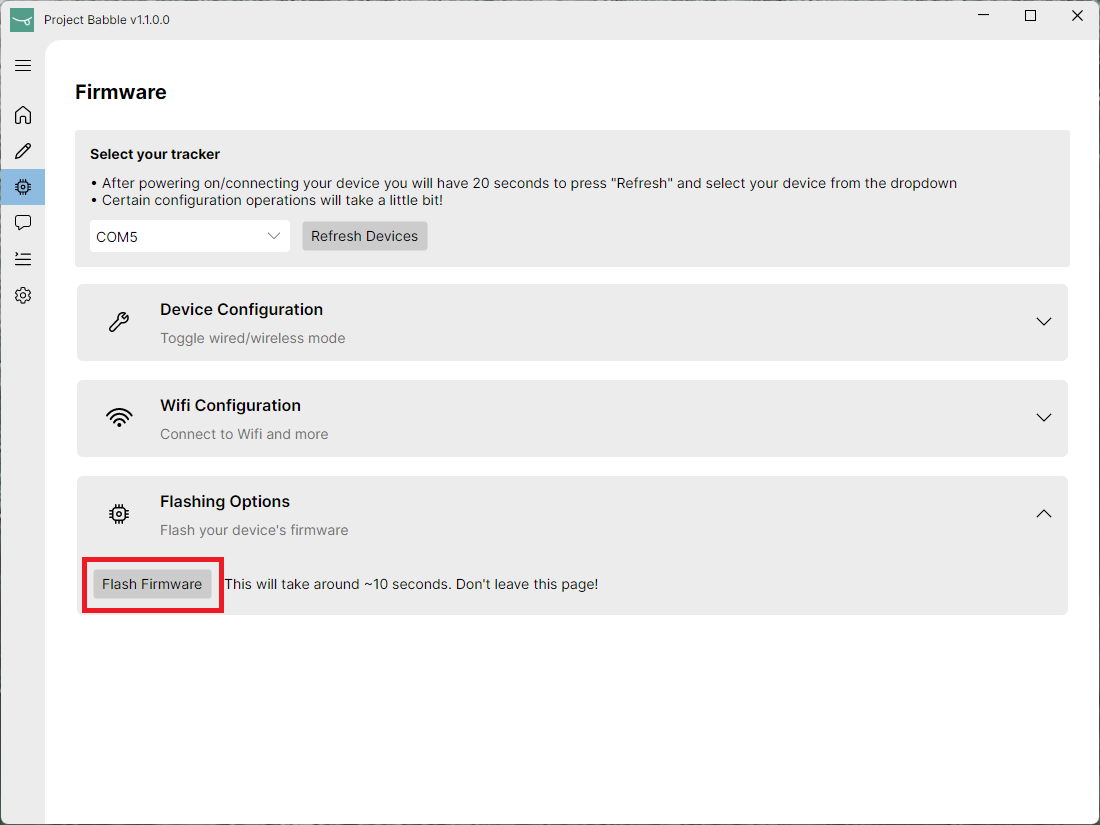
Reflashing
Step 1) Follow Steps 1-2 above, then click the "Flash Firmware" button:
Troubleshooting
Step 1)
To pull logs from your device, first download EyeTrackVR's firmware flashing tool from their Github.
Before moving onto the next steps, make sure your device is plugged in and/or connected (non-boot mode this time).
Step 2)
Open EyeTrackVR's firmware flashing tool. Select any firmware here, it doesn't matter. Just go to the next page.
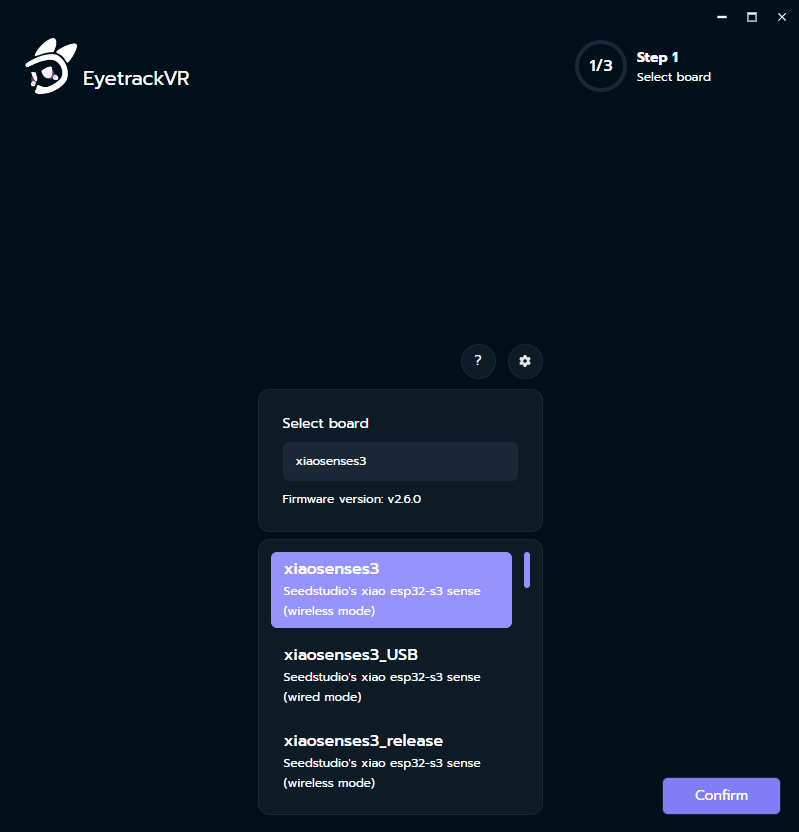
If prompted for wifi, just enter anything to move on. You don't need to deal with this either.
Step 3)
Select your device on the corresponding COM port. Then, click on the left arrow next to the "Downloading logs..." button. Or you can download the logs and look at them in the text editor of your choice.
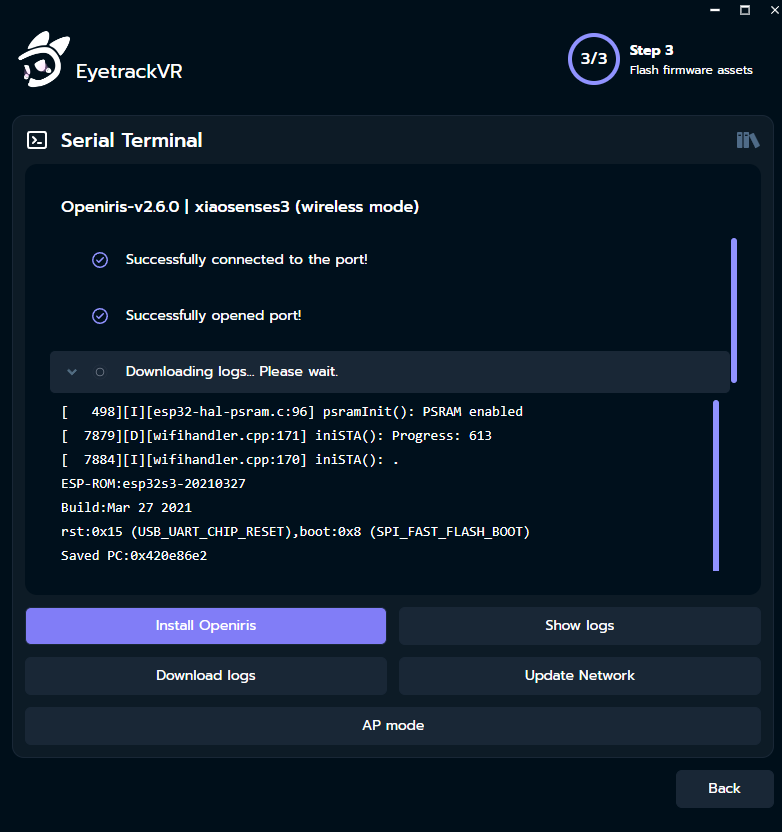
For more information on how to use EyeTrackVR's firmware flashing tool, please refer to their documentation.